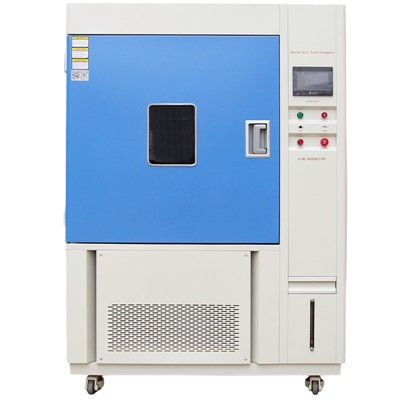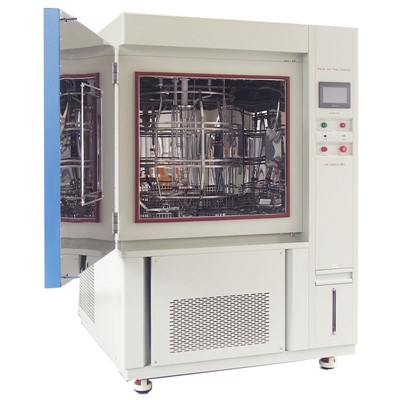



Calibrating a Xenon Weathering Test Chamber is a crucial process to ensure accurate and reliable testing results. As a supplier of Xenon Weathering Test Chamber, I understand the significance of proper calibration in maintaining the quality and precision of these chambers. In this blog, I will guide you through the steps of calibrating a Xenon Weathering Test Chamber, highlighting the importance of each stage and providing practical tips for a successful calibration.
Understanding the Importance of Calibration
Calibration is the process of comparing the measurements of a device against a known standard to ensure its accuracy. In the case of a Xenon Weathering Test Chamber, calibration is essential to guarantee that the chamber can simulate real-world weather conditions accurately. This is particularly important for industries such as automotive, aerospace, and construction, where materials need to withstand various environmental factors over time.
Accurate calibration ensures that the test results obtained from the chamber are reliable and reproducible. It helps manufacturers make informed decisions about the durability and performance of their products, ultimately leading to better quality and customer satisfaction.
Pre - calibration Preparations
Before starting the calibration process, it is important to make some preparations:
- Read the Manual: Thoroughly read the user manual of the Xenon Weathering Test Chamber. The manual provides detailed information about the chamber's specifications, calibration procedures, and safety precautions.
- Gather Tools and Equipment: You will need specific tools and equipment for calibration, such as a radiometer to measure the intensity of the xenon lamp, a thermometer to measure the temperature inside the chamber, and a hygrometer to measure the humidity. Make sure these tools are calibrated and in good working condition.
- Clean the Chamber: Clean the interior of the chamber to remove any dust, debris, or contaminants that may affect the calibration results. Use a soft cloth and a mild cleaning solution to wipe the surfaces.
Calibration Steps
Step 1: Lamp Intensity Calibration
The xenon lamp is the heart of the weathering test chamber, as it simulates sunlight. The intensity of the lamp needs to be calibrated regularly to ensure consistent and accurate testing.
- Turn on the Chamber: Power on the Xenon Weathering Test Chamber and let it warm up for the recommended time, usually around 30 minutes to an hour. This allows the lamp to reach a stable operating temperature.
- Measure the Lamp Intensity: Use a radiometer to measure the intensity of the xenon lamp at different points inside the chamber. The radiometer should be placed at the sample position to ensure accurate readings. Compare the measured intensity with the specified intensity in the chamber's manual.
- Adjust the Lamp Intensity: If the measured intensity is not within the acceptable range, adjust the lamp power or the distance between the lamp and the samples. Some chambers have built - in controls for adjusting the lamp intensity. Make small adjustments and re - measure the intensity until it is within the specified range.
Step 2: Temperature Calibration
Temperature is another critical factor in weathering tests. The chamber should be able to maintain a stable temperature throughout the testing process.
- Place the Thermometer: Place a calibrated thermometer inside the chamber at the sample position. Make sure it is not in direct contact with the chamber walls or the samples.
- Set the Temperature: Set the desired temperature on the chamber's control panel. Wait for the chamber to reach the set temperature and stabilize.
- Measure the Temperature: After the chamber has stabilized, measure the temperature using the thermometer. Compare the measured temperature with the set temperature. If there is a significant difference, adjust the temperature control settings on the chamber.
Step 3: Humidity Calibration
Humidity plays an important role in simulating real - world weather conditions. The chamber should be able to control the humidity accurately.
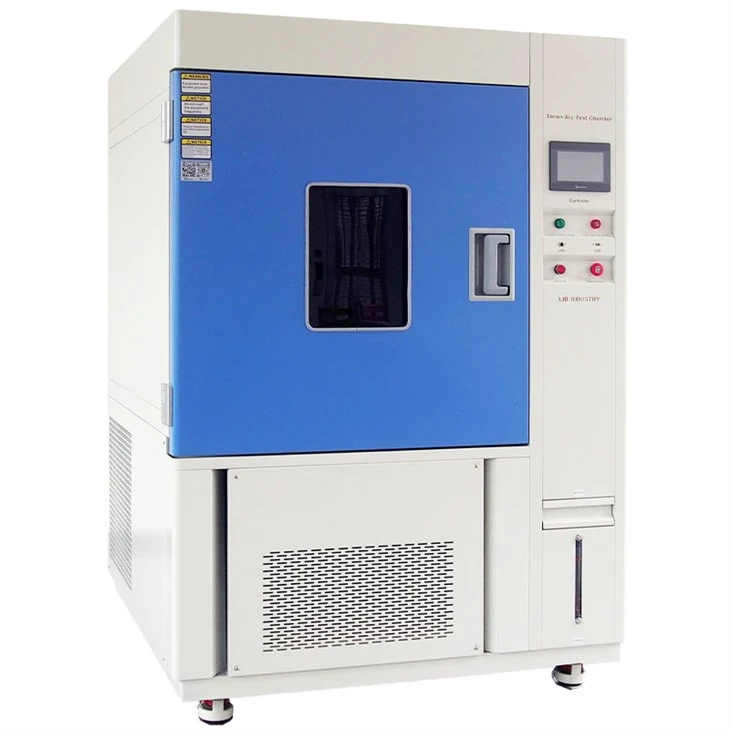
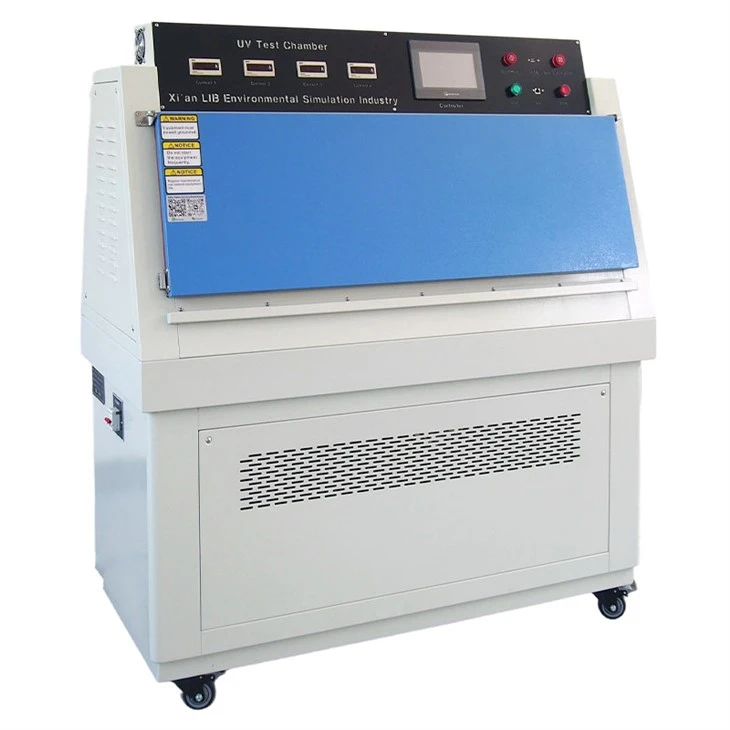
- Place the Hygrometer: Place a calibrated hygrometer inside the chamber at the sample position.
- Set the Humidity: Set the desired humidity level on the chamber's control panel. Wait for the chamber to reach the set humidity and stabilize.
- Measure the Humidity: After the chamber has stabilized, measure the humidity using the hygrometer. Compare the measured humidity with the set humidity. If there is a difference, adjust the humidity control settings on the chamber.
Step 4: Cycle Time Calibration
The cycle time of the chamber, which includes the duration of light and dark periods, also needs to be calibrated.
- Set the Cycle Time: Set the desired cycle time on the chamber's control panel.
- Monitor the Cycle: Use a stopwatch or the chamber's built - in timer to monitor the actual cycle time. Compare the actual cycle time with the set cycle time. If there is a difference, adjust the cycle time settings on the chamber.
Post - calibration Checks
After completing the calibration process, it is important to perform some post - calibration checks:
- Repeat the Measurements: Repeat the measurements of lamp intensity, temperature, humidity, and cycle time to ensure that the calibration was successful.
- Run a Test Cycle: Run a test cycle with a sample to verify that the chamber is operating correctly and producing accurate results.
- Document the Calibration: Keep a record of the calibration process, including the measured values, adjustments made, and the date of calibration. This documentation is important for quality control and compliance purposes.
Tips for Successful Calibration
- Regular Calibration: Calibrate the Xenon Weathering Test Chamber at regular intervals, as recommended by the manufacturer. This helps to maintain the accuracy and reliability of the chamber over time.
- Use High - Quality Calibration Tools: Invest in high - quality calibration tools to ensure accurate measurements. Low - quality tools may lead to inaccurate calibration results.
- Follow the Manufacturer's Instructions: Always follow the manufacturer's instructions for calibration. Deviating from the recommended procedures may affect the performance of the chamber.
Conclusion
Calibrating a Xenon Weathering Test Chamber is a complex but essential process. By following the steps outlined in this blog, you can ensure that your chamber is operating accurately and producing reliable test results. As a supplier of Xenon Weathering Test Chamber, we are committed to providing high - quality products and support to our customers. If you are interested in purchasing a Xenon Weathering Test Chamber or need assistance with calibration, please feel free to contact us for further discussion. We look forward to working with you to meet your testing needs.
References
- Manufacturer's user manual for the Xenon Weathering Test Chamber.
- Industry standards and guidelines for weathering testing.